Article Contents
- Planning Your multi vendor Marketplace
- Setting Up WordPress website with the Domain name and hosting
- How to install WordPress on a cPanel-based hosting and create a database!
- WordPress Download and Install Via FTP Manually
- Configure WordPress: After extracting the files, you need to set up your WordPress installation.
- Follow the prompts to complete the WordPress installation:
- Installing and Configuring WooCommerce Plugin
- Installing the multi vendor Plugin
- Vendor Onboarding and Registration
- Managing Vendor Products:
- Configuring Payments and Commissions
- Enhancing User Experience
- Implementing Security Measures
- Marketing and Promoting Your Marketplace
- Conclusion
- Related Posts:
Planning Your multi vendor Marketplace
Would you like to build a WordPress ecommerce website? Then You have to use WordPress and the following combination of plugins that can help you create a true marketplace.
- WooCommerce
- WCFM – WooCommerce Frontend Manager
- WCFM – WooCommerce Multi Vendor Marketplace
In this Blogpost, we will walk you through the process of creating your own multi vendor e-commerce website using WordPress and WooCommerce.
Before considering the technical aspects, it is necessary to plan your multi vendor marketplace. Consider factors such as your niche, target audience, seller onboarding process, commission structure and unique selling points. Having a clear vision will guide you throughout the development process.
Setting Up WordPress website with the Domain name and hosting
The first step is to set up WordPress on your domain. Choose a reliable hosting provider, install WordPress, and configure the basic settings. Select a professional theme that supports multi vendor functionality and is compatible with WooCommerce. Customization options, responsiveness, and user-friendly interfaces are crucial factors to consider.
How to install WordPress on a cPanel-based hosting and create a database!
Access cPanel: Log in to your hosting account and navigate to the cPanel dashboard. The exact steps may vary depending on your hosting provider, but usually, you can find a link to cPanel from your account management interface.
Create a Database: In the cPanel dashboard, look for the “Databases” section and click on the “MySQL Database Wizard” or “MySQL Databases” option. A new database can be created following the steps in this guide.
- Enter a name for your database and click “Next Step”.
- Create a database username and password. Make sure to choose a strong password. Click “Create User”.
- On the next page, assign the newly created user to the database by selecting both the user and the database from the dropdown menus.
- You will receive a confirmation message indicating that the database and user have been successfully created.
WordPress Download and Install Via FTP Manually
Some of the hosting provide you the WordPress installation in their control panel in just a few clicks. If you would like to install WordPress manually then follow the following steps:
Download WordPress: Go to the official WordPress website at wordpress.org and download the latest version of WordPress. It will be downloaded as a ZIP file.
Upload WordPress Files: Return to your cPanel dashboard and locate the “File Manager” option. Open it and navigate to the public_html folder (or the folder where you want to install WordPress).
- Click on “Upload” in the file manager toolbar and select the WordPress ZIP file you downloaded. Alternatively, you can use an FTP client to upload the ZIP file to your hosting account.
- Once the upload is complete, select the ZIP file in the file manager and click on “Extract” in the toolbar. This will extract the WordPress files to the desired location.
Configure WordPress: After extracting the files, you need to set up your WordPress installation.
- Access your domain name in a web browser. You should see the WordPress installation wizard.
- Select your preferred language and click “Continue”.
- On the next page, you will be prompted to enter the database information.
Database Name: Enter the name of the database you created in step 2.
Username: Enter the database username you created.
Password: Enter the corresponding password.
Database Host: This is typically “localhost” but may vary depending on your hosting provider.
Table Prefix: Optionally, you can change the default table prefix or leave it as is. Click on the “Submit” button.
Follow the prompts to complete the WordPress installation:
- Enter the site title, username, password, and email address for your WordPress admin account.
- Choose whether to allow search engines to index your site (you can change this later if needed).
- Click on the “Install WordPress” button.
Access Your WordPress Dashboard: After the installation is complete, you will see a success message with a link to your WordPress dashboard. Click on the link to access your website’s admin area.
That’s it! You have successfully installed WordPress on your cPanel-based hosting and created a database.
You can now start customizing your website, installing themes and plugins, and adding content.
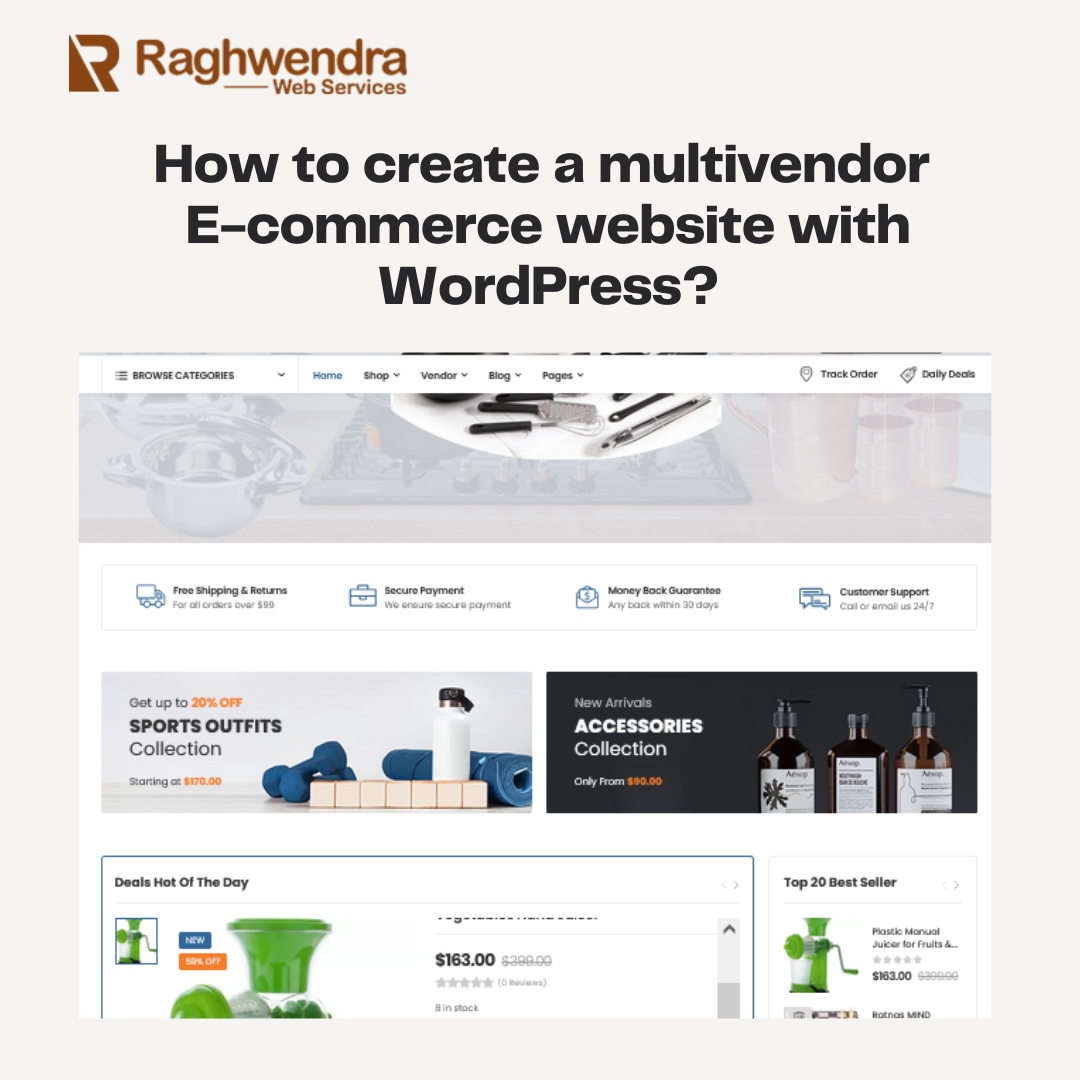
Installing and Configuring WooCommerce Plugin
Install the WooCommerce plugin from the WordPress repository. Once activated, WooCommerce will guide you through a setup wizard where you can configure essential settings. These include currency, payment gateways, shipping options, and tax settings. Customize these settings to match your marketplace requirements.
Installing the multi vendor Plugin
To enable multi vendor functionality, you need a dedicated multi vendor plugin. One popular option is the WooCommerce Multivendor Marketplace (WCFM Marketplace) plugin. Install and activate it from the WordPress plugin repository. Configure the plugin by setting up vendor registration, commission rates, and other marketplace policies.
Vendor Onboarding and Registration
Configure the vendor registration process based on your marketplace requirements. Determine whether vendors should be able to register automatically or if you prefer manual approval. Customize the registration form to gather essential vendor information. Create dedicated vendor profiles and dashboards, allowing vendors to manage their products and sales.
Managing Vendor Products:
Vendors can add, edit, and manage their products through their dedicated dashboards. Define product submission guidelines, including mandatory fields and image requirements. Enable features such as product variations, pricing, inventory management, and product reviews. Ensure a seamless product management experience for vendors.
Configuring Payments and Commissions
Set up payment gateways to facilitate secure transactions between buyers and vendors. WooCommerce offers various payment gateway integrations, including PayPal and others. Configure commission structures, determining the percentage or fixed rate for each sale made by vendors. Automate commission calculations and payments.
Enhancing User Experience
Focus on improving the user experience for both vendors and customers. Optimize site navigation, search functionality, and product filtering. Implement customer reviews and ratings to build trust and enhance your product or services searchable. Offer responsive customer support and integrate social sharing options for better engagement.
Implementing Security Measures
Security is crucial for any e-commerce website. Use SSL certificates to secure sensitive information during transactions. Regularly update WordPress, themes, and plugins to protect against vulnerabilities. Install security plugins, such as Wordfence or Sucuri, to monitor and protect your marketplace from potential threats.
Marketing and Promoting Your Marketplace
Create a marketing strategy to attract vendors and customers to your multi vendor marketplace. Utilize social media platforms, content marketing, SEO optimization, and email marketing to reach your target audience. Collaborate with vendors for joint promotions and leverage influence marketing to boost visibility.
Conclusion
Building a multi vendor e-commerce website with WordPress and WooCommerce opens up a world of opportunities. By following this blogpost, you can create a feature-rich online marketplace that caters to both vendors and customers.
Our WordPress team can also help you creating your website. For getting free quote please contact us.


